
What to expect from an aircon installation, step by step
By Jacky Lee · Updated 2026-07-11

An aircon installation isn’t just mounting a box on the wall and connecting a hose. Done properly, it’s a sequence of decisions and checks that determine whether the system cools efficiently for the next decade or starts leaking within a year.
Step 1: site visit and load calculation
A contractor worth hiring visits the space before quoting, not after. They’ll look at room size, ceiling height, window area and sun exposure to work out the right cooling capacity (measured in BTU), check where the outdoor unit can realistically sit, and plan the piping route between indoor and outdoor units. If a contractor quotes a firm price without seeing the site, that’s a gap worth asking about, since the wrong capacity means a unit that short-cycles and wastes electricity, or one that runs constantly and still can’t cool the room. Our aircon installation category lists contractors who typically walk through this step before locking in a number. For typical price ranges by system size, see our guide on what aircon installation costs in Singapore.
Step 2: unit placement and mounting
The indoor unit goes up on a bracket, positioned to avoid direct sun on the thermostat sensor and blowing air straight onto where people sit or sleep. The outdoor unit needs a level, firm mounting point with enough clearance for airflow and maintenance access later. In condos and landed homes especially, outdoor unit placement also needs to work with the building’s external appearance and any management rules.
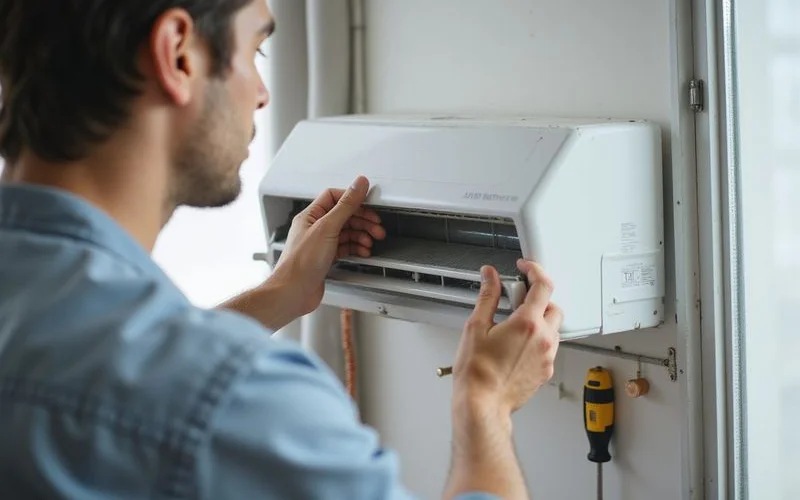
Step 3: piping, wiring and drainage
This is where most long-term problems start if it’s done poorly. Copper piping runs between the indoor and outdoor units, insulated to stop condensation forming and dripping inside walls or ceilings. Electrical wiring connects to a dedicated point, and a drainage line is run with a proper downward slope so condensate flows out instead of pooling. A rushed job often shows up here: exposed piping left in direct sun degrades faster, and a poorly sloped drain line is one of the most common causes of a leaking unit months later.
Step 4: vacuuming and pressure testing
Before the refrigerant runs through the new piping, the line needs to be vacuumed to remove air and moisture, then pressure tested to confirm there are no leaks at the joints. Skipping this step is invisible on install day but shows up later as a slow leak and a unit that gradually loses cooling power.
Step 5: commissioning
The final step is switching the system on and confirming it actually works: checking refrigerant pressure against the gauge, verifying the temperature drop at the vent, and testing drainage under load. A good installer either hands over a commissioning report or walks you through these readings directly.
| Job size | Typical time |
|---|---|
| Single unit, straightforward route | 3 to 5 hours |
| Multi-unit system, existing piping reusable | Half a day to a full day |
| Full system, new piping and trunking needed | Full day to two days |
Where installations commonly go wrong
Most complaints about a bad installation don’t surface on day one, they show up weeks or months later. A wrongly sized unit for the room runs constantly without cooling it properly, or cycles on and off too often, both of which waste electricity. Poorly insulated piping sweats and drips inside a wall cavity or ceiling void, and that damage can take a while to notice. Sloppy brazing on the copper joints (the soldering that seals the refrigerant line) leads to a slow gas leak that drains out over a year or two rather than failing immediately. None of these are obvious on the day the installer packs up, which is exactly why the checks in the next section matter more than how tidy the visible work looks.
What to check before the installer leaves
Confirm the outdoor unit sits level and firmly mounted, piping is neatly insulated and not left exposed to direct sun where it could have been routed differently, and drainage has a visible downward slope. Ask to see or hear about the pressure test reading rather than taking “it’s fine” at face value. These checks take a few minutes and catch the issues that turn into ceiling leaks or warm air months down the line.
See our methodology page for how we weigh installer thoroughness in our scoring, and visit the home page to compare listed installation contractors before you book.
Frequently asked questions
- How long does a single unit installation take?
- Usually 3 to 5 hours if the wall and piping route are straightforward. Awkward access or a long piping run adds time.
- How long does a full multi-room system take?
- A system with several indoor units, especially in a flat that needs fresh piping and trunking, can take a full day or spread across two days.
- Do I need to be present for the whole installation?
- It helps to be there at the start for the site walkthrough and unit placement decisions, and at the end for the commissioning check. Some homeowners arrange trusted access for the middle stretch of the job.
- What happens if the installer finds an issue with the wall or wiring partway through?
- A reasonable installer stops and explains the issue, for example a wall that can't take the bracket weight safely or wiring that doesn't meet the load, and quotes any extra work before continuing.